Showing posts with label crafting. Show all posts

Monday, December 26, 2016

How-to: Under-bed Play Board


Happy Holidays everyone! This year, for Christmas, I undertook my first real woodworking project- meaning one that starts with boards and ends up with something that actually feels finished. My son is nearing the magic age of three when choking hazards become less of a problem and toy franchises really start vying for his attention. In preparation for this transition, I built him a play board that could serve as a base for train sets, LEGO, car tracks or really any sort of world-building toy.

I had a couple of these when I was a kid, but they were much simpler... just single sheets of decent quality scrap wood. I wouldn't say I was excited about having them, but I recognized their invaluable utility. I wanted to provide something similar for my son, but I also felt like taking it to the next level.

A board like this can also be useful for gamers in need of a stowable play surface. The 3ft x 4ft board I built is a little too big to easily cart around, but would still be handy for those without a good playing surface.

When I was finished, I posted pics to my Facebook page and immediately started receiving comments asking for instructions on how I built it. So, here they are. If you have a little one with a penchant for building toys, a board like this will serve you well.

Thursday, January 21, 2016

The Great Craft Room Makeover


If you have been reading this blog for awhile, you likely know that crafting is an important part of my family's character. Whether you are talking about epic group Halloween costumes that take months to pull together, elaborate mixed-media dungeon sets, hand drawn maps, or simply mini-painting, the Sporkchop household are big fans of homemade creativity. This past summer, the Wife and I decided to finally construct a dedicated space for all of these crafting endeavors. With that in mind, we embarked on the great craft room makeover.

Monday, December 2, 2013

Make-it Monday: Sporkchop Attempts to Sew a Dice Bag


The Wife and I got back from an uber-relaxing holiday weekend spent at a friend's house in the mountains, and I think the Wife decided that I was just too relaxed by the time Sunday rolled around. So, when we got back into town she decided that Sunday afternoon would be an excellent time to teach me how to use a sewing machine.


We decided that my first project would be to try my hand at a dice bag similar to the one Paul Mason makes in this nifty tutorial video over at Geek & Sundry. It seemed simple enough, but let me tell you, even though the project only involves four bits of fabric (five if you add a decorative piece to the bottom like in the video), it sure does a good job of presenting its share of frustrations. The circular bottom bit was probably the most frustrating to line up properly, and the stretchy fabric I picked out didn't help.

After a bit of hemming and hawing, (get it? hemming!?) and perhaps a paltry amount of pouting and blowing off of steam, I finally managed to create something that I am not horribly embarrassed to use for dice storage.

See! Happy Sporkchop!

I picked out a red paisley print to strike fear into the hearts of my enemies!
I ended up with some unintended pleating around the base of the bag, though
I do like how the bit of paisley I picked for the bottom lined up... sort of tentacley!

The black, velvety lining is also pretty boss.
 For a first venture into machine sewing, I would have to call this a success. Unfortunately, I have little patience for my own learning curve and tend to get grumpy if I'm not perfect on the first try. I'm working on tempering that tendency, but could still use some practice. Because, hey, nobody's perfect!


Monday, October 28, 2013

Make-it Monday: Halloween 2013, Forest King and Raven Queen

A back-lit closeup of my final do

We hosted our annual Halloween party this past Saturday. We had probably a good 20-25 people at our house over the course of five hours with a lot of cool costume ideas happening. Among the many wonderful outfits at the party, we had the Swedish Chef, the pin-up Hilda, Jeeves and Wooster, Bob Ross and a happy tree. The costumes the Wife and I have been slaving over for the past month or so turned out spectacularly. 


Here is the Wife and I in our full get-up

and a close-up of the hooves
Unfortunately, our actual camera has been dead for a few weeks now, so we only had my cellphone, which was also serving as an mp3 player with the music for the evening, so our pictures were sparse and not of the greatest quality. Fortunately, some friends of ours also had cameras at the ready. So, here is a sampling of the other guests.


Though this pic wasn't taken at my party, my adorable niece showed up wearing this.


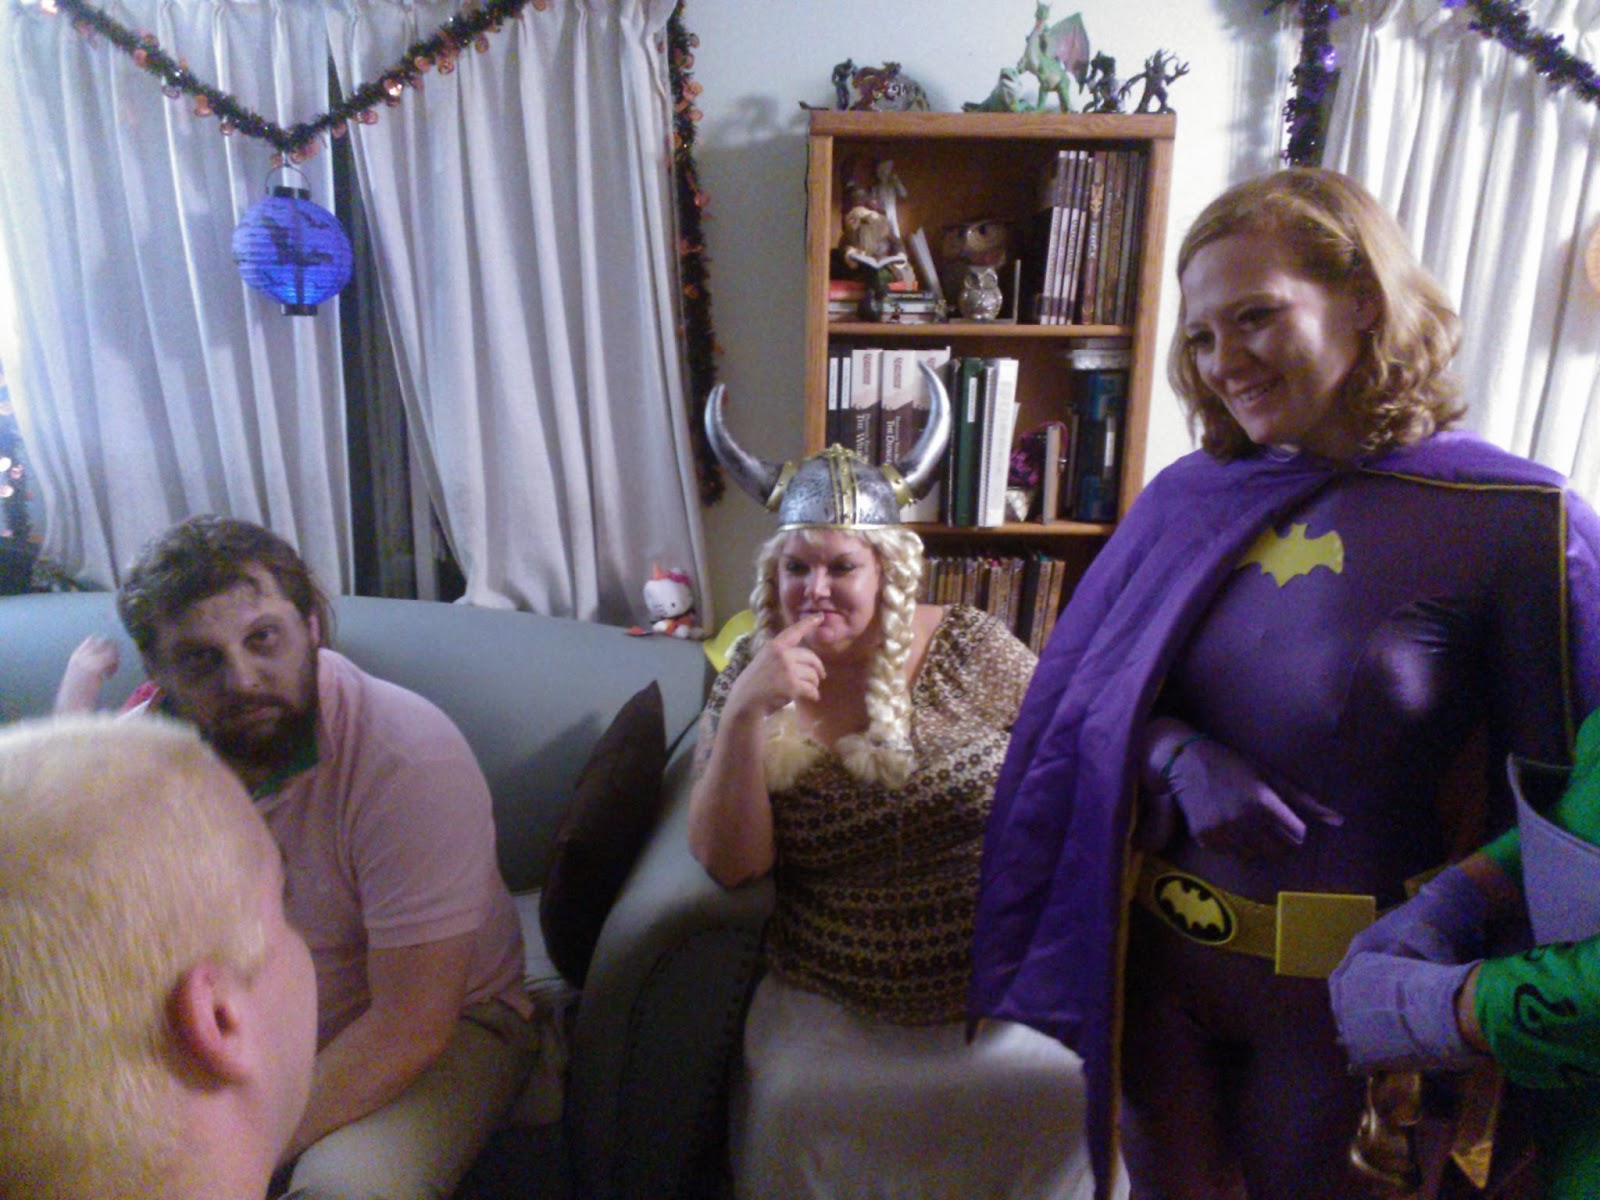
Brunhilda and Bat-Girl talk with Hank Venture -taken by me

Hank Venture meets zombie hiker and zombie frat boy -taken by my friend, Rene

Venture-Archer power combo -taken by my friend, Rene

A good full-length shot of the Wife's cloak -taken by my friend, Rene
 Oh, of course, before the party began, I had to take the obligatory duck-faced selfie.


UPDATE: 10/29/13
Our friend, Dan uploaded a couple new pics!

This is what I wake up to every morning! ; )

A MUCH better pic of the Wife and I
With another successful Halloween party in the bag, we must now consider whether we will ever wear these costumes again. If we get invited to a party next weekend, we might. Unfortunately, we don't get a lot of trick-or-treaters in our neighborhood. I am pondering the practicality of putting the outfit back on for karaoke next Friday... hmmm...

If this is the first Halloween post you've seen, check out how we made our costumes at the following links.


Saturday, October 26, 2013

Halloween Pt. 6, Final Assembly

This post is a day late because the Wife and I have been pushing hard to finalize our costumes. After several weeks of work, we finished the assembly of our various pieces just this morning. 


Read on for the details!

Monday, October 21, 2013

Make-it Monday: Halloween pt. 5, Hooves, Collars, Antlers and Crowns


The wife's raven queen contacts came in!


Lots of crazy, crafty stuff has been happening around the Sporkchop household this week, especially on the Halloween front. I put up a bunch of our Halloween decorations before leaving on my business trip, so the place is starting to look quite festive.

The wife and I also made quite a bit of progress on our costumes! I got rolling on covering my newly formed hooves and painting each of our crowns while the wife worked on her collar piece and my antlers.

Here's what we got done...

Monday, October 7, 2013

Make-it Monday: Halloween Costume 2013, pt. 3, Hoof Design


I made some good progress on the Halloween costume this weekend. While I have still not yet begun assembly, the Wife and I did manage to pick up most of the remaining ingredients for our outfits. I also took some time to sketch out my plan for turning my feet into hooves. 

I plan to use some of the sculptural mesh the Wife got to build her collar to form a sort of boot topper that will blunt my feet into large hoof shapes. We picked up some fake fur at the fabric store, which will make a nice border to mask the edge of the hoof where it meets my leggings.


In addition to the fur, I also picked up some fabric for my cloak, some craft leather strips to wrap my leggings; some rhinestones, which I plan to use for eyes in my coyote head; and several packs of sculpting clay, which I will use to make lightweight antlers.

So, I am just about done purchasing for the costume. Unless I am forgetting something, I think I only need to get a tunic, and a wig before I have all the raw bits.

In other make-it news, I also got together with my dad this weekend to discuss my mini display case project, which had stalled out a bit over the past month. After hanging out in his wood shop for a bit, we managed to work out some clear next steps. This week I hope to knock out a diagram to calculate the total board-feet I will need to purchase in the wood of my choice.

Wednesday, July 31, 2013

New Project: Build a Mini Cabinet

As in a cabinet to house my minis, not that the cabinet itself will be particularly small...

I have long lusted after the furniture produced by Geek Chic, but lament the prohibitively high prices. Fortunately for me, however, my father is an incredible woodworker in his own right, and I have often found myself thinking, "I bet my dad could build something like that." Well, now that the wedding is over, I have decided to do that musing one better and see if my dad can teach me how to "build something like that."

I have often admired those who can make durable, high-quality goods like furniture, pottery, homemade clothes and other useful craft items, and I have wanted to improve my own skills in those areas. So, yesterday I emailed my dad and proposed a project: Would he help me to build a wall case for my gaming minis, and use the project to help teach me some of the basics of woodworking? He responded with an enthusiastic "yes", so as soon as I got home from work, I broke out the trusty ol' SketchUp to begin roughing out my ideas.

with doors shown

doors hidden

isometric view


The plan is to build a wall-mounted case with glass doors to keep the dust out, and interior lighting to set off the minis. I determined that it needs to be just over 3 inches deep in order to accommodate some of the larger figures, and that the shelving should be removable, with a minimum spacing of 2 inches for the medium-sized minis.

I would love to document this project as it progresses, so keep an eye out for updates here on the blog. Who knows, if the mini cabinet goes well, maybe I'll try and tackle one of those tables next!

Monday, May 6, 2013

Make-it Monday: A to Z Compilation Books

One of the big reasons for using maps as my A to Z theme was to build a collection of stock locations for use in my game. For this week's Make-it Monday, I decided to compile all of my hand drawn originals, along with printouts of the parchment-textured finals into two artist portfolios. Unfortunately, I couldn't find a portfolio at my local art store with enough pages to include everything in one volume. Still, I am pleased with how things turned out.

The old label maker comes in handy once again

Here's the interior layout turned to a couple of my favorites from the challenge.

Tucked away snug on my RPG shelf.
I don't know that I've ever shown this, but this is my RPG bookshelf all within arms reach of my GM spot.
The plastic bins on the bottom two shelves are all packed with minis.
There are a few leftover pages in each portfolio, so I may work up a title page and table of contents for each. It's really not necessary, but it would look cool.

Monday, March 4, 2013

Make-it Monday: Effects Box and GM's Day!


March fo(u)rth my minions, for today is GM's day. A day on which to lavish your game master with praise and gifts of tribute in hope that your character will live to see level 20. Seriously though, it's a thing... make with the gifts and praise.

I engaged in a bunch of random creativity this past week, but nothing that felt like a full project. The Fiancee is in full-blown spring-cleaning mode, and I am desperately clinging to her silky, pegacorny hide in an effort to avoid the lashing maw that is her vacuum cleaner. As such, over the past weekend we tackled the office/guest bedroom like an owlbear on a forest sprite.

Along with more mundane tasks like purging unnecessary paperwork, I took inventory of my unfinished papercraft projects. I laid a select few tiles onto some scrap foam core in order to move them into the finished column. I also finally picked up a can of clear coat and got my painted minis sealed up to prevent flaking and dryness.

Today, however, I would like to introduce you to my cheap and easy effects box. In D&D, as players increase in level, they have to deal with a wider variety of persistent effects that can help or hinder their abilities. Keeping track of just who these effects apply to gets tricky when everyone is hasted, half the party is invisible, the wizard is poisoned, etc. etc.


My simple solution for keeping track of such things is my effects box. I picked up a small sewing kit from a local craft store, and have filled it with a number of generic tokens and other markers. The box currently has black and white go stones, some colored glass hobby "gems", my homemade death pogs for tracking which victims are only mostly dead, and several sets of status markers made by wrapping colored pipe cleaners into little loops to represent different effects.


I also have a couple large area of effect (AoE) templates, also made with pipe cleaners. I made the first to help the Fiancee's sorcerer more quickly figure out who she could catch with a single fireball. After our last play session, however, it became clear that we needed more. We had two persistent AoE effects on the battlefield, plus the sorcerer still slinging fireballs, but only one template to mark them. So, this weekend, I worked up a couple more 20 ft radius hoops for good measure.

Newly sealed minis on newly finished papercraft

Do you have any quick and easy tricks for keeping your players' buffs and debuffs sorted out?

Wednesday, January 2, 2013

Goal for Lucky '13: Make a thing a week

2013 baby! What could go wrong!?

Welcome to 2013 dear readers and the compulsory resolutions/goals post. 2012 was an incredibly busy year for me outside of the blog-o-sphere. I took my first international trip in over a decade, completed a major two year long project at work*. I was featured in my first half-hour TV special. And the fiancee and I got rolling on our wedding planning.

Within the confines of this blog, things were a bit more modest spotty. I completed my second April A to Z challenge and passed 50 subscribers. Other than that, I've been a bit of a slacker. I don't want to be a slacker, but real life and actual creative pursuits need to come before writing about creative pursuits. I love this little blog though and don't intend to stop. However, if I am going to up the consistency and quality of my posts, I'm going to have to get more efficient about things. I need to make my blog work with, not against my real world escapades and goals.

This brings me to my one blogging goal for 2013.

Make a thing a week

Monday, October 22, 2012

Halloween Costume Update

The Fiancee and I finally had some time to work on our galactic centurion costumes this past weekend. We both have the basic structure of our breastplates just about finished. I cut out the template for my pauldrons (shoulder pads) tonight and plan to cut, bend and (weather-permitting) prime the foam for them tomorrow.

My armor in-progress with the ridiculously messy table behind it.

The Fiancee's armor is primed. I think she's a D12 cup.

Monday, July 18, 2011

He's Crafty!

So, I'm supposed to be preparing to launch the third act of my campaign this week, which meand I of course found it necessary to procrastinate and do nothing of the sort this weekend. Rather than prepping for my upcoming session, I launched into a crafting project that I have been itching to undertake for quite some time: I built my own custom GM screen.

During the two and a half years I have been running this game, I have never used a screen. This is partly because I used to run my game from a laptop, which served as a sort of screen in itself, and partly because I run an out-of-print version of the game, making appropriate screens difficult to come across. Well, recently I started looking at custom built screens and finally decided to take the plunge.

Here's what I used:

Materials:

  • 3 pieces of foam core scrounged from work (approx 10" x 16" each)
  • duct tape
  • 12 mylar photo corners
  • Elmer's Glue
  • 3 binder clips
  • Scrap-booking paper with Japanese dragons printed on it


Tools:

  • Metal straight edge
  • Matte knife
  • Cutting mat
  • Popsicle stick <-- Perfect for spreading glue
  • Junk mail <-- Perfect as a drop cloth when spreading glue


Making the Screen:

  1. I laid the foam core down end to end and joined it along the GM- facing side with duct tape.
  2. I trimmed the two outside sheets of foam core to 10" x 12" to allow for a better fit on my table
  3. I trimmed my scrap-book paper to fit the foam core.
  4. I glued the sheets of paper to the foam core backing and used the metal straight edge to burnish it smooth. (I had to do this because the foam core had previously used museum signage on one side.)
  5. I measured and marked the desired position for each stat sheet on the GM side of the screen and mounted each sheet with mylar photo corners. This will allow me to easily swap out stat sheets if I play a different system or have need of a special reference at some point.
  6. I clipped the three binder clips to the top of the screen, which will allow me to display maps, visual aids or other references for the players.

I am quite pleased with the results of my afternoon's effort. While it may not be as professional looking as a store bought screen, the foam core makes for a much cleaner looking structure than cardboard, and the photo-corner system adds some excellent versatility not available in an off-the-shelf screen.

I am also once again toying with some modifications to my game management technique. There have been quite a few articles floating around lately that discuss ways to run games from index cards, and I just got run over by the bandwagon. During the last adventure I ran, I found myself being forced to choose between flipping back and forth in my notebook if an NPC or monster appeared in more than one encounter, or transcribing the same stat block multiple times. Well, in an effort to solve this particular inefficiency, I created an NPC card template that can be printed on a 4x6 index card and easily moved between encounters when running a game.